How to use a Foam Roller on Your Back (Safely): Where to Roll and Where Not To
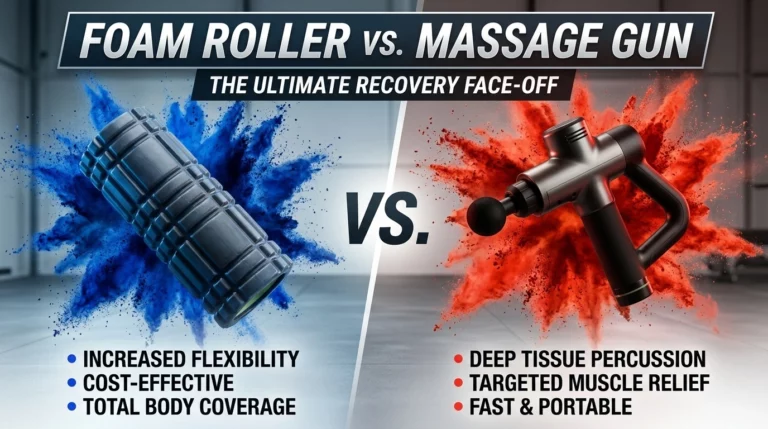
Does your upper back feel tight after a long day at your desk? Learning how to foam roll your back is one of the cheapest ways to loosen those muscles, and it costs far less than a massage gun. The foam roller vs massage gun choice also depends on comfort, but a roller is an easy place to start.
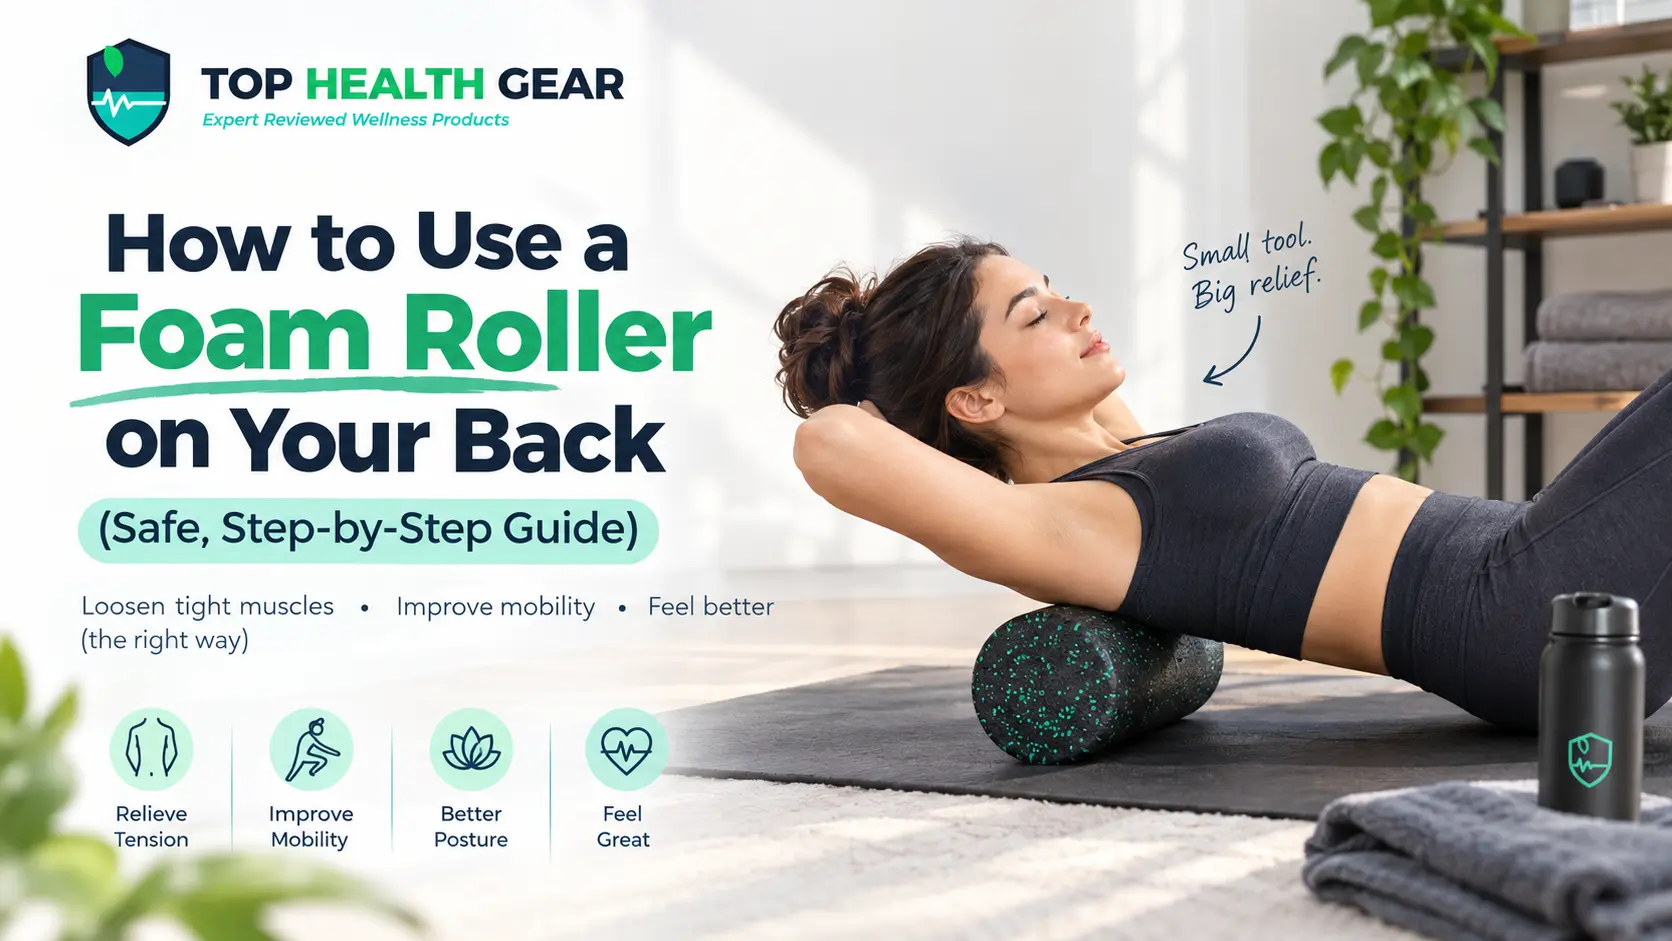
The most common mistakes are rolling the lower spine and pressing far too hard. To use a foam roller on your back, lie on it under your upper back, support your head, and roll slowly for about a minute. Skip the lower spine.
Is It Safe to Foam Roll Your Back?
For most healthy people, yes, rolling the upper and mid back is safe and often feels good. The lower back is different, because it has no rib cage to protect it. Rolling directly on it can push your spine into an arch it does not like.
A simple rule I give my patients is to stop rolling where your rib cage ends. Work the muscles around the lower back instead, which keeps pressure on soft tissue and away from the spine.
For lower back tightness, roll your glutes and hips (move 4). You can also try a gentler tool such as a back massager made for lower back pain, which can reach the area without putting spinal pressure through a roller.
Where should you not foam roll?
Avoid these areas:
- The lower spine (roll the glutes and hips instead)
- The neck
- Bones and joints
- The area just under your rib cage
- Any injured, bruised, or swollen area, until it heals
What Do You Need Before You Start?
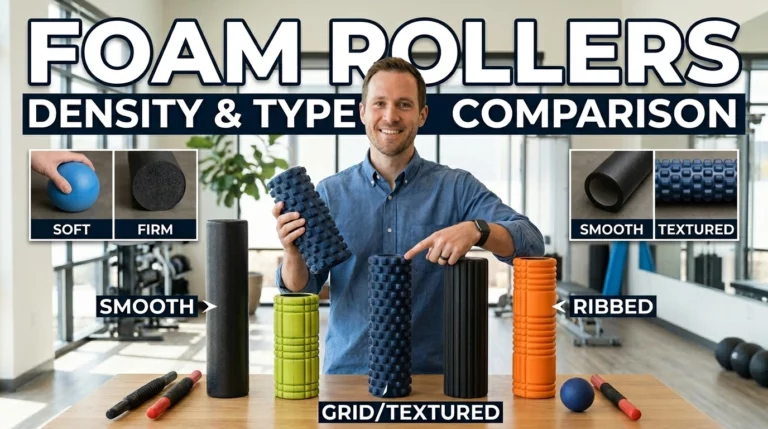
The roller you choose matters more than most people think. Material and density change how firm it feels on your back, and the difference between foam roller densities and types is worth knowing before you buy. Here is the quick version:
Roller Type | Feel | Best For |
|---|---|---|
Soft density | Gentle, forgiving | Beginners, sensitive backs, first sessions |
Medium density | Moderate, even pressure | Most people, regular use |
Firm density | Deep, intense pressure | Experienced users with high tolerance |
Smooth surface | Even, predictable pressure | Beginners and upper back work |
Textured or grid surface | Targeted, deeper pressure | Stubborn spots, glutes, and hips |
Short roller (18 inch) | Easy to store and travel with | Glute and lat work |
Long roller (36 inch) | Supports the full spine | Lengthwise chest opener (move 5) |
New to rolling? Start with a soft or medium smooth roller and move up only if it feels too light. Avoid very firm or heavily textured rollers along your spine.
What basic rules keep foam rolling safe?
Six simple rules keep every session safe and comfortable:
- Go slowly. Move about an inch per second. Pause on a tender spot for a few seconds before moving on.
- Control the pressure. Support some of your body weight with your hands and feet, so you do not drop onto the roller.
- Clasp your hands behind your head. This supports your head and keeps your neck relaxed.
- Breathe steadily. Holding your breath makes your muscles tense. Exhale as you settle into a tender spot.
- Stay on soft tissue. Never roll over bone, such as your spine or shoulder blades.
- Aim for uncomfortable but okay. You should feel firm pressure you can breathe through. Sharp pain, pinching, numbness, or tingling means stop right away.
How to use a Foam Roller on Your Back? 5 Simple Moves
Do these five moves in order, spending 30 to 60 seconds on each.
1. Upper Back Roll
Sit with your knees bent and the roller behind you. Lie back so it sits under your shoulder blades, clasp your hands behind your head, and lift your hips slightly. Roll a few inches at a time with your feet, from mid back to shoulder blades, and stop at the bottom of your rib cage.
2. Thoracic Extension (Back Stretch)
Place the roller across your mid back with your hips on the floor and your hands behind your head. Gently arch back over it while breathing out, and keep your lower back quiet. Hold for two or three breaths, then slide the roller a little and repeat in three to five spots.
This is the move most people mean when they ask about back stretches with a foam roller.
3. Lat Roll (Side of the Back)
Lie on your side with the roller under your armpit area and your bottom arm extended. Cross your top leg over for support. Make small rolls from the armpit toward the rib cage, then switch sides.
4. Glute and Hip Roll (Helps Low Back Tightness)
Sit on the roller with your knees bent. Cross one ankle over the opposite knee and shift your weight onto that side. Roll slowly, then switch sides.
5. Lengthwise Chest Opener
Lie lengthwise on the roller so it runs along your spine, with your head and hips supported. This works best on a roller about 36 inches long. Let your arms fall open with your palms up and breathe for one minute.
If lying on the roller feels uncomfortable, use a soft rolled towel instead.
What Are the Benefits and Limits of Foam Rolling Your Back?
Foam rolling can ease everyday tightness in your upper back, but it will not fix the cause. Think of it as a tool that makes movement, stretching, and good posture easier.
What foam rolling does well
- It may loosen the muscles between your shoulder blades that tighten from desk work and phone use.
- Many people find it easier to extend and rotate the mid back right afterward.
- A short session works as a warm up, and gentle rolling afterward may reduce that stiff, sore feeling.
- It is low cost, works at home, and lets you control pressure, speed, and location.
What are the disadvantages of foam rolling?
- It can be uncomfortable at first. Start with a softer roller and light pressure.
- Rolling too hard can cause bruising and soreness. If a spot stays tender or bruised, rest it.
- Lasting benefits are not well proven. Foam rolling may help flexibility and soreness for a short time, but the relief usually fades.
- It cannot fix posture. Pair it with stretching, strengthening exercises, and a better desk setup.
- It is not for a fresh injury. Skip the roller after a recent strain, sprain, or bruise, and check with a doctor or physical therapist.
How Long and How Often Should You use a Foam Roller on Your Back?
Spend about 60 seconds per area, and pause on a tender spot for 20 to 30 seconds at most. Keep the whole session to 5 to 10 minutes. Short daily sessions are generally fine if it feels good, but skip a day if the area is sore or bruised.
Timing also depends on when you roll:
- Before a workout: about 30 seconds per area to loosen up.
- After a workout: closer to a minute per area as part of your cooldown.
- On rest days: a gentle active recovery session.
Rolling helps, but sleep, food, and rest days are what really speed up muscle recovery. If rolling feels awkward on your back, a massage gun may suit you better.
What is a simple 7 minute back routine?
This routine takes about 7 minutes, including short rests between moves:
- Upper back roll for 60 seconds.
- Thoracic extension for 60 seconds across three to five spots.
- Lat roll for 45 seconds per side.
- Glute and hip roll for 45 seconds per side.
- Lengthwise chest opener for 60 seconds of slow breathing.
Do this once a day or a few times a week, and skip a day if you feel sore.
What Mistakes Should You Avoid When Foam Rolling Your Back?
Most mistakes come from rolling too hard, too fast, or in the wrong place.
- Rolling the lower back. The lumbar spine has no rib cage to protect it, so pressing a hard roller into it can strain the joints and muscles. Roll the glutes and hips instead.
- Going too fast. Slow, steady pressure signals the muscle to relax, while rushing keeps it guarded.
- Pressing into pain. More pressure does not mean better results. Ease off if you feel pinching, numbness, or tingling.
- Letting the head drop. A hanging head strains your neck and can arch your lower back. Clasp your hands behind your head.
- Staying too long on one spot. Several minutes on one area can irritate the tissue. Move on after 20 to 30 seconds.
- Ignoring the cause. Long hours of sitting keep your shoulders rounded and your upper back muscles tense. A standing desk vs sitting comparison can help you rethink your day.
How do you know you are foam rolling correctly?
You are on the right track if the pressure feels uncomfortable but tolerable and your breathing stays slow and steady. Your muscles should feel looser or warmer afterward, with no sharp pain, tingling, numbness, or bruising the next day. If you notice any of those signs, stop and reduce the pressure.
Who Should Be Cautious Before Foam Rolling Their Back?
Check with a healthcare professional first if you have osteoporosis or a recent fracture, a herniated disc, or pain that travels down your leg. The same goes for a recent injury or surgery, a history of blood clots, blood thinners, or pregnancy.
When should you talk to a healthcare professional?
Stop and get advice if you feel sharp pain, pain that travels down your leg, numbness, or tingling. Also see a doctor or physical therapist if your back pain is severe, lasts a long time, or keeps coming back.
Frequently Asked Questions
How do you foam roll your back safely?
Lie on the roller under your upper back, support your head with your hands, and roll slowly for about 60 seconds. Stay above the bottom of your rib cage and avoid the lower spine. Stop if you feel sharp pain, numbness, or tingling.
How long should you foam roll your back?
Spend about 60 seconds per area, with no more than 20 to 30 seconds on a tender spot. Keep the whole session to 5 to 10 minutes.
Can you foam roll your lower back?
It is best to avoid it. The lower spine has no rib cage for protection, so roll your glutes and hips instead.
Is it good to foam roll your back every day?
Short daily sessions are generally fine for healthy people if it feels good. Take a day off if the area is sore or bruised.
Does foam rolling help back pain?
It can ease muscle tightness in the upper and mid back, and many people feel short term relief. It is not a treatment for spinal problems. See a doctor or physical therapist if your pain is severe, lasts, or spreads to your legs.
Key Takeaways
- Roll the upper and mid back, and skip the lower spine.
- Go slowly, about an inch per second, and breathe steadily.
- Keep sessions to 5 to 10 minutes, with about 60 seconds per area.
- Use stretching, walking, and regular breaks from sitting alongside rolling.
- Stop if you feel sharp pain, numbness, or tingling, and talk to a doctor first if you have a condition listed above.

- Best TENS Unit for Back Pain: The Right Pick for Your Pain, Budget, and Routine - October 20, 2026
- How to use a Foam Roller on Your Back (Safely): Where to Roll and Where Not To - October 19, 2026
- Best Pillow for Back Sleepers: Find Your Perfect Sleep Match - October 17, 2026